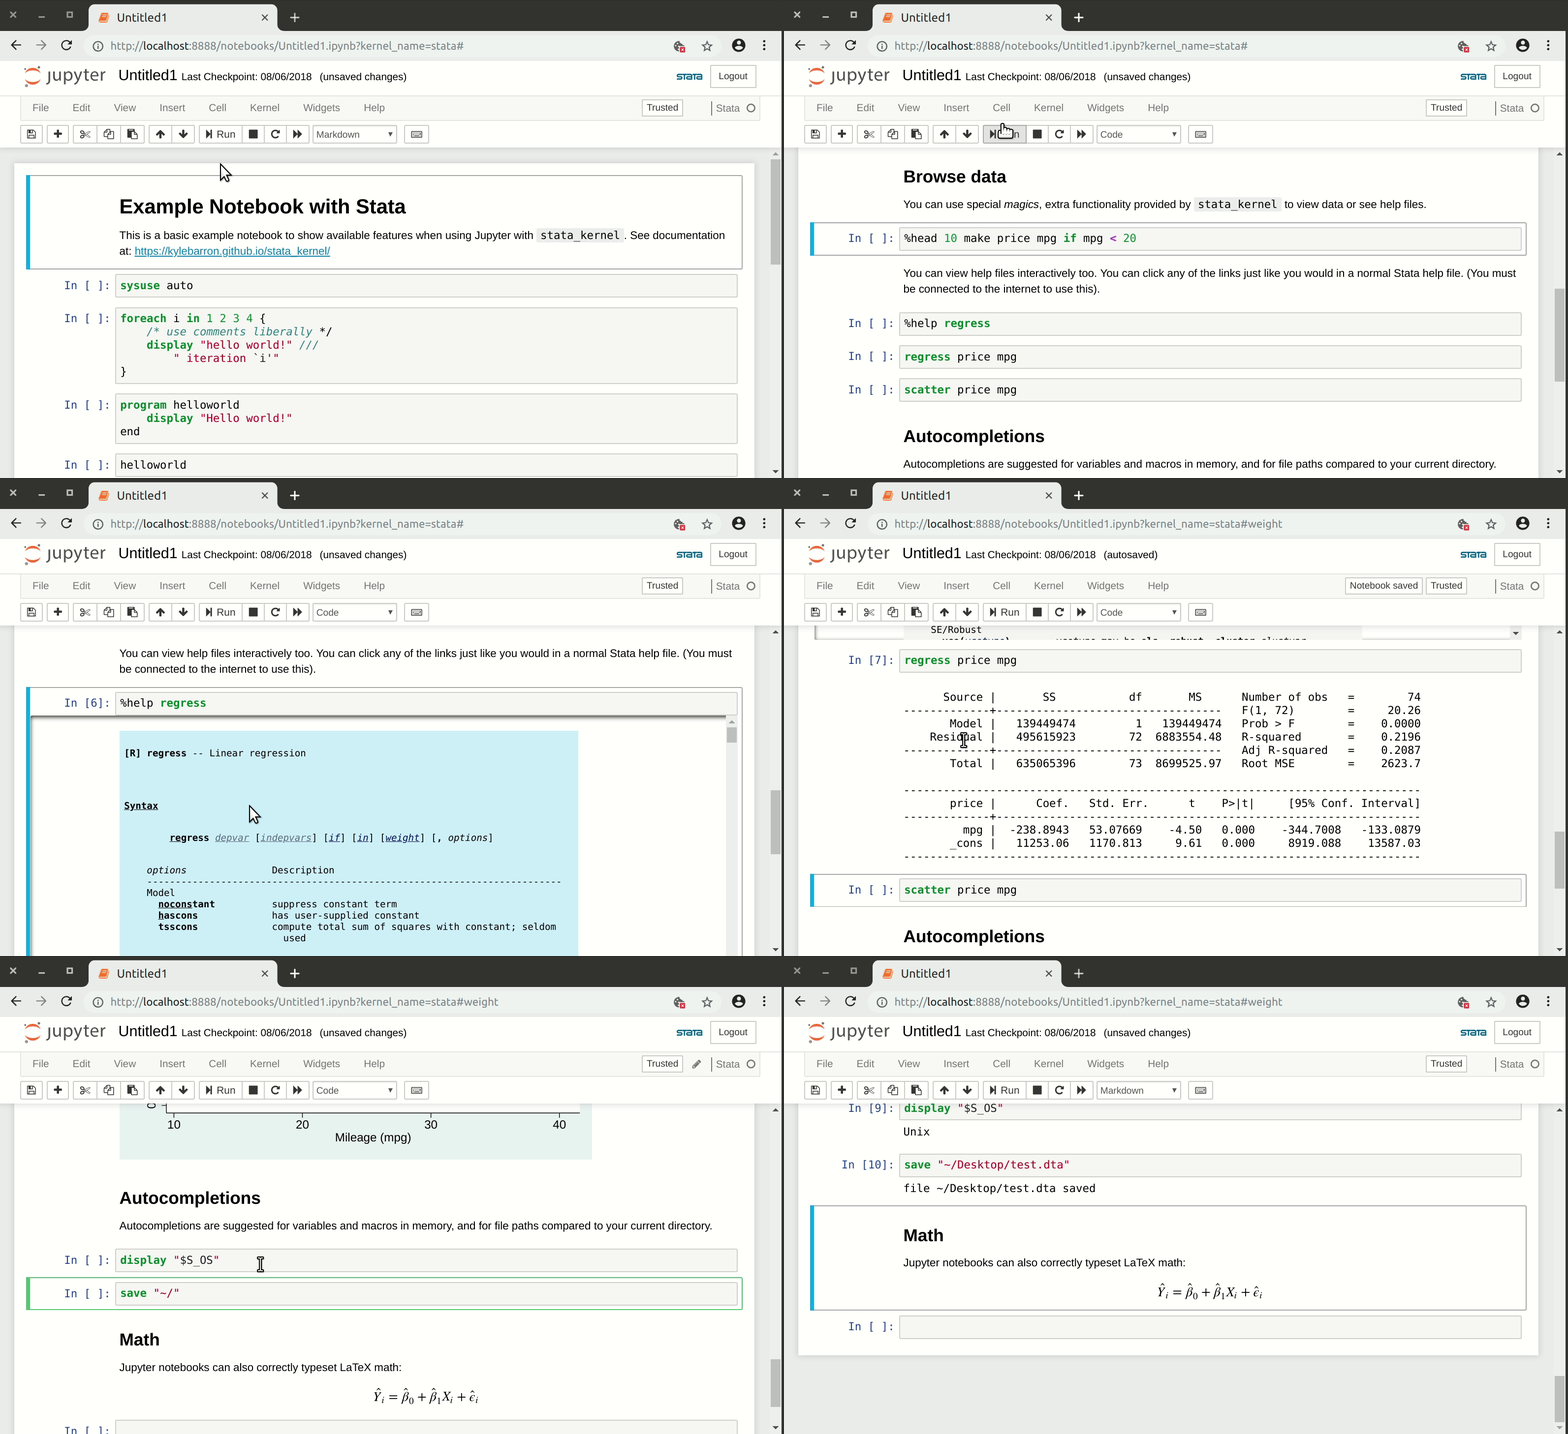
Using stata_kernel and Jupyter Lab (or Notebook) for reproducible research goodness
The method outlined in this post is in my opinion the very best way to run Stata and generate dynamic and reproducible research documents that you can share with co-authors, instructors, etc. This method requires some setup including the installation of python. We cover in detail most of these steps.
Python Preliminaries
The stata_kernel needs a proper python installation with Jupyter installed. My preferred method of doing this is to use Anaconda Python along with several python libraries. The stata_kernel install page provides full instructions for installing Anaconda python and all packages necessary for getting this running (note: the mechanics of doing this is outlined below).
This part goes into a bit more detail on how to actually perform the installation steps after you've installed Anaconda Python. You should be able to run the "Anaconda Navigator" and once launched you should see something like what is pictured below:
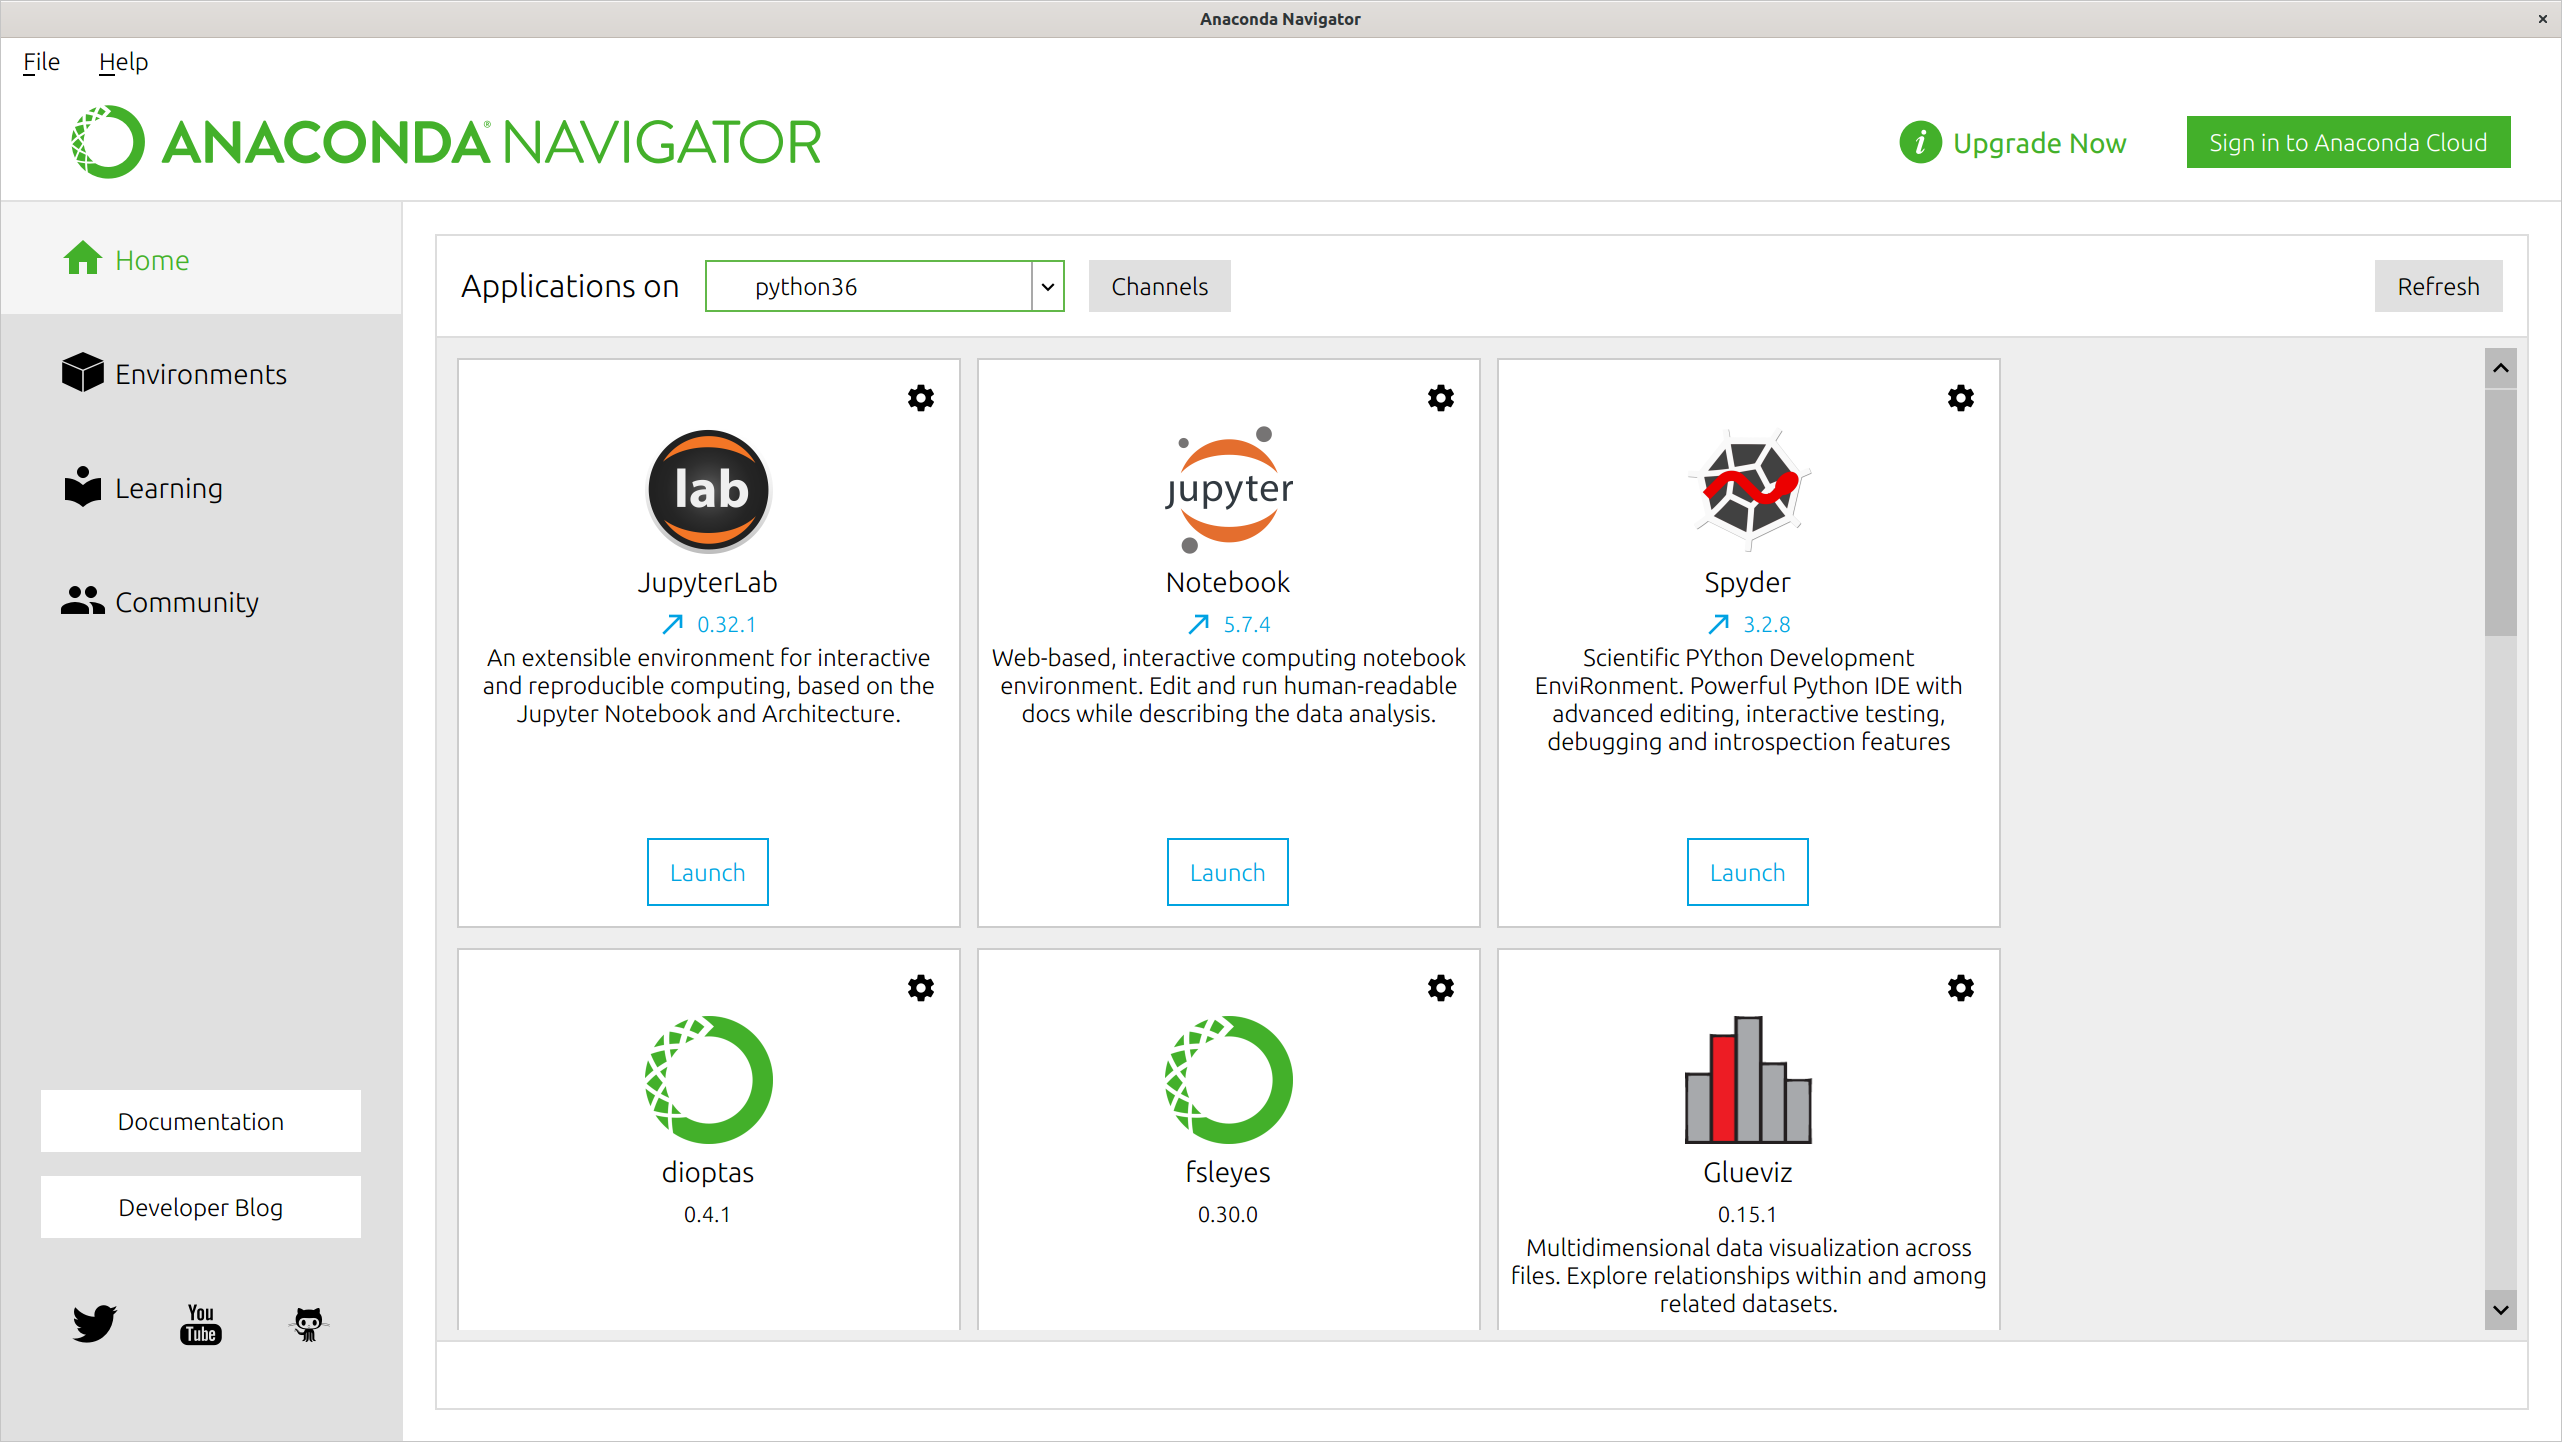
Launch "Jupyter Lab" (you may need to install it first using the install button on the icon), and you will see this:
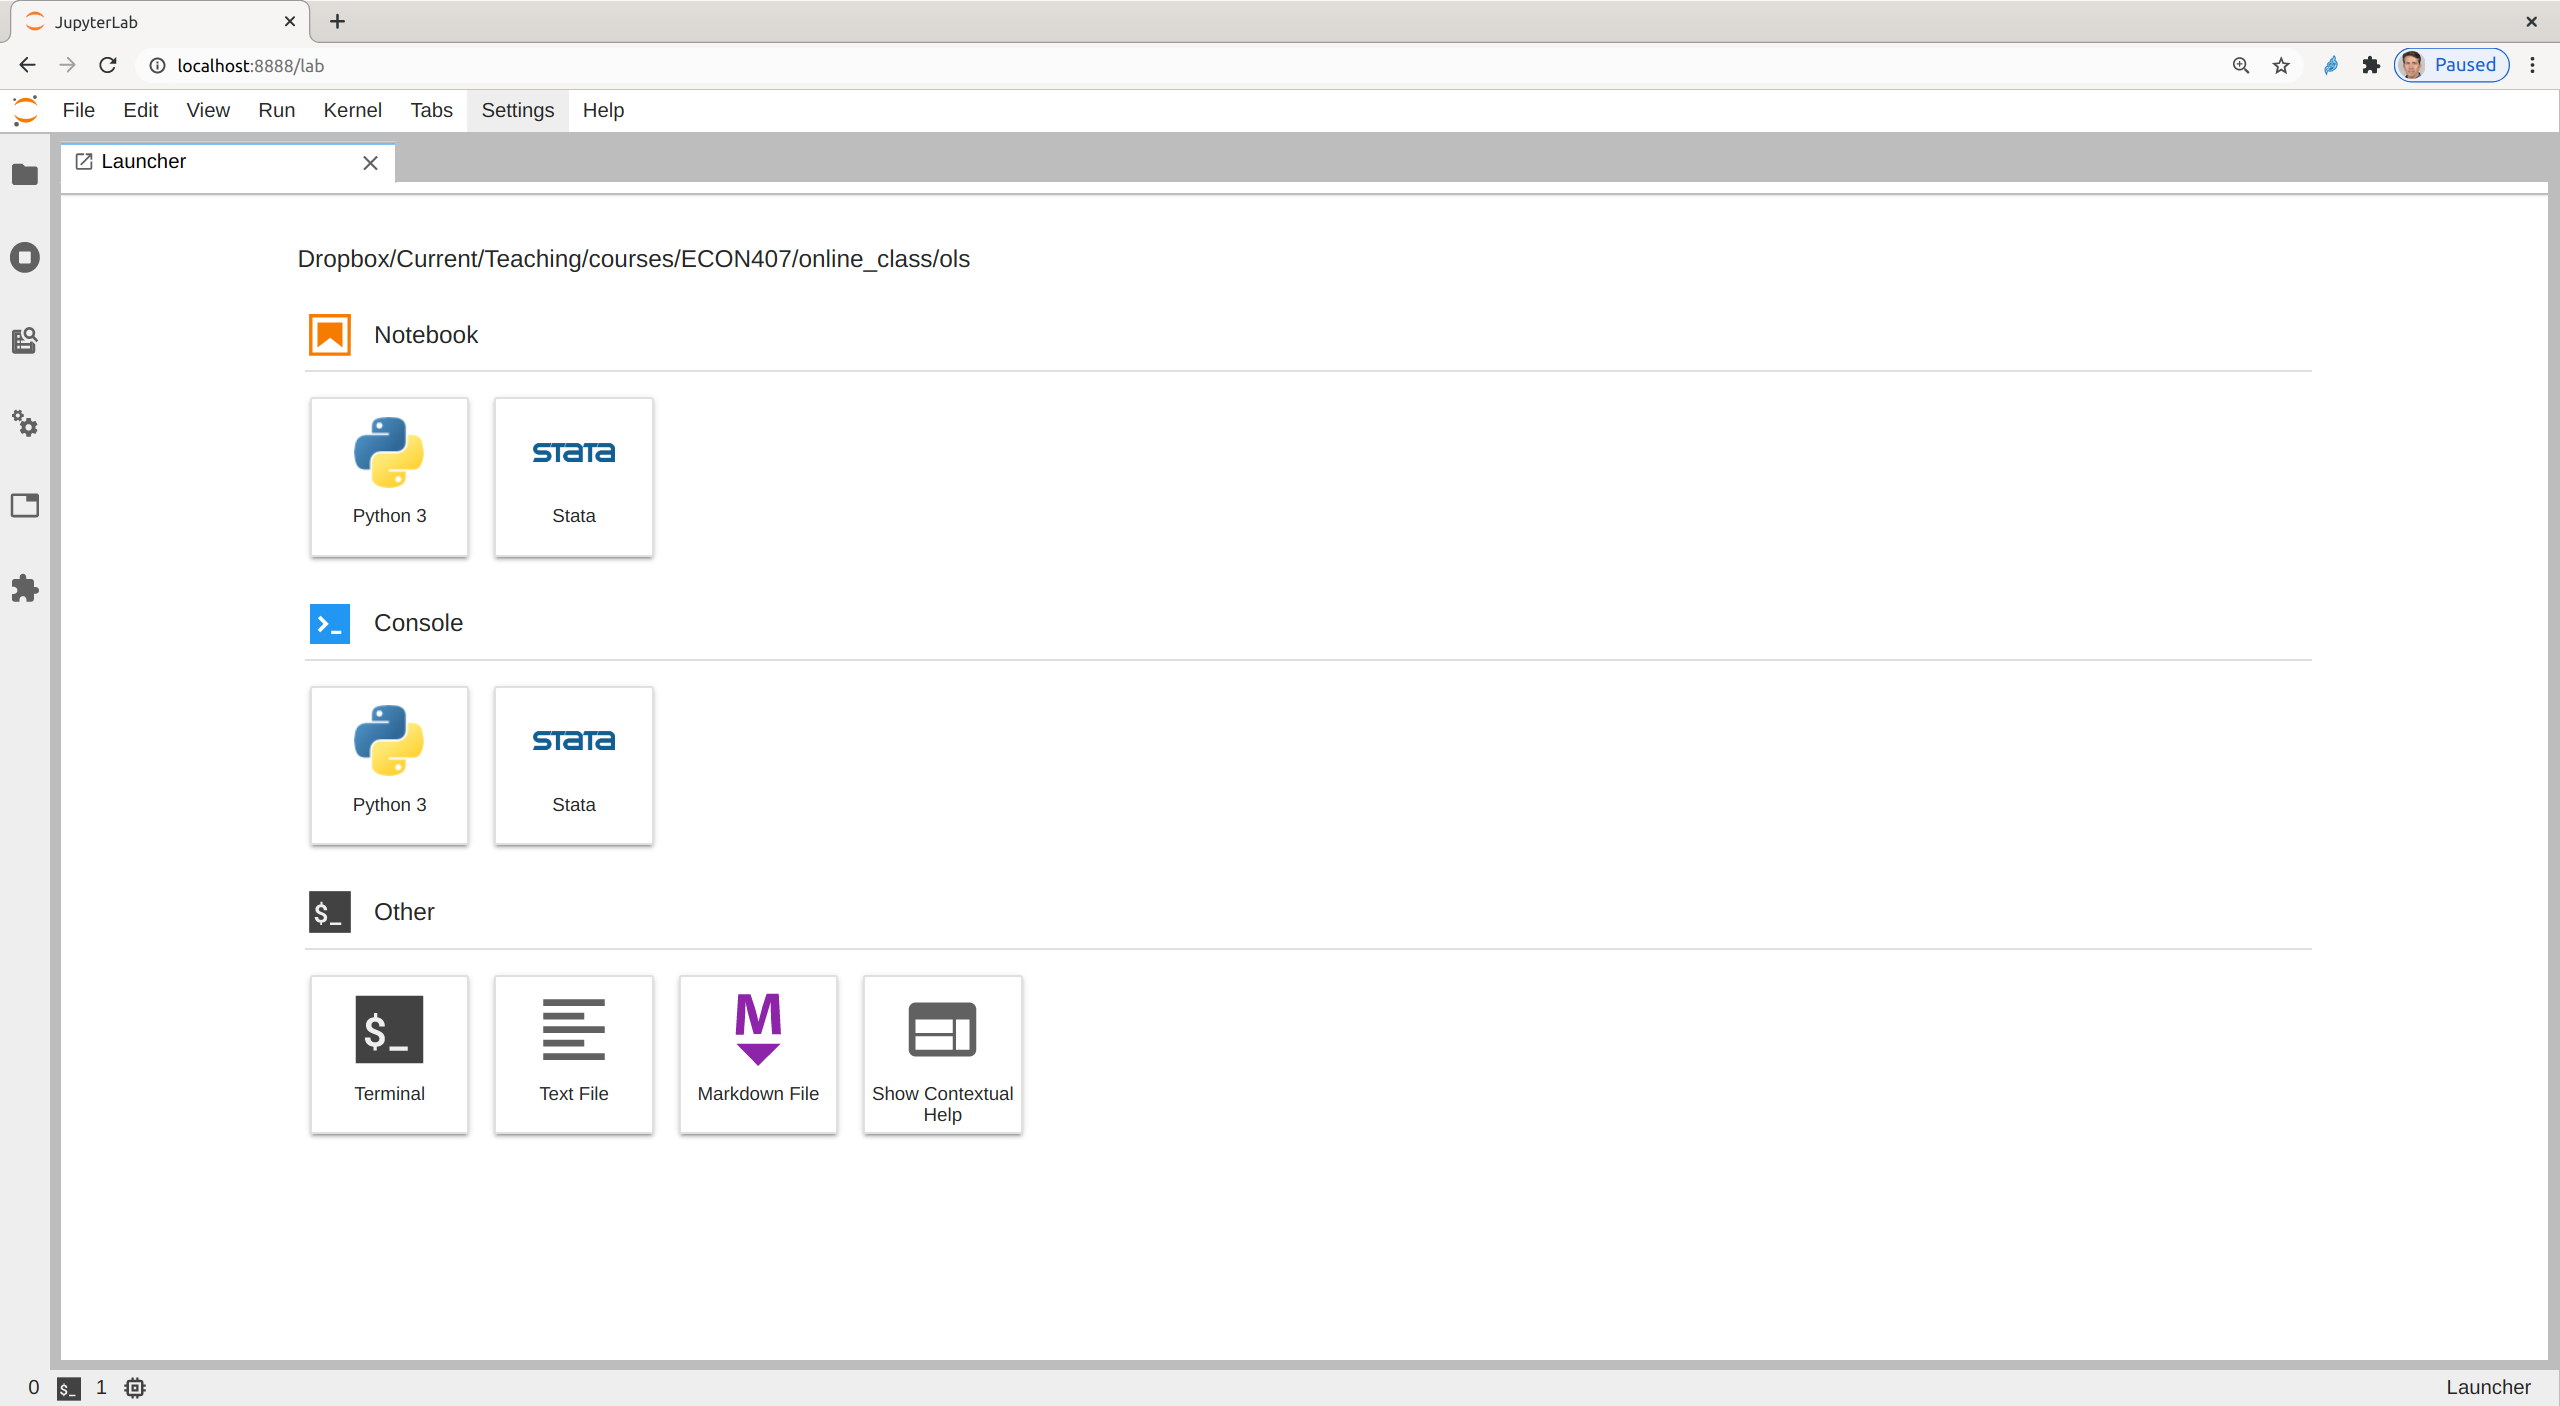
except that your machine probably won't have "Stata" listed under "Notebooks" or "Consoles". To add that, click on "Terminal" and you will see something like this:
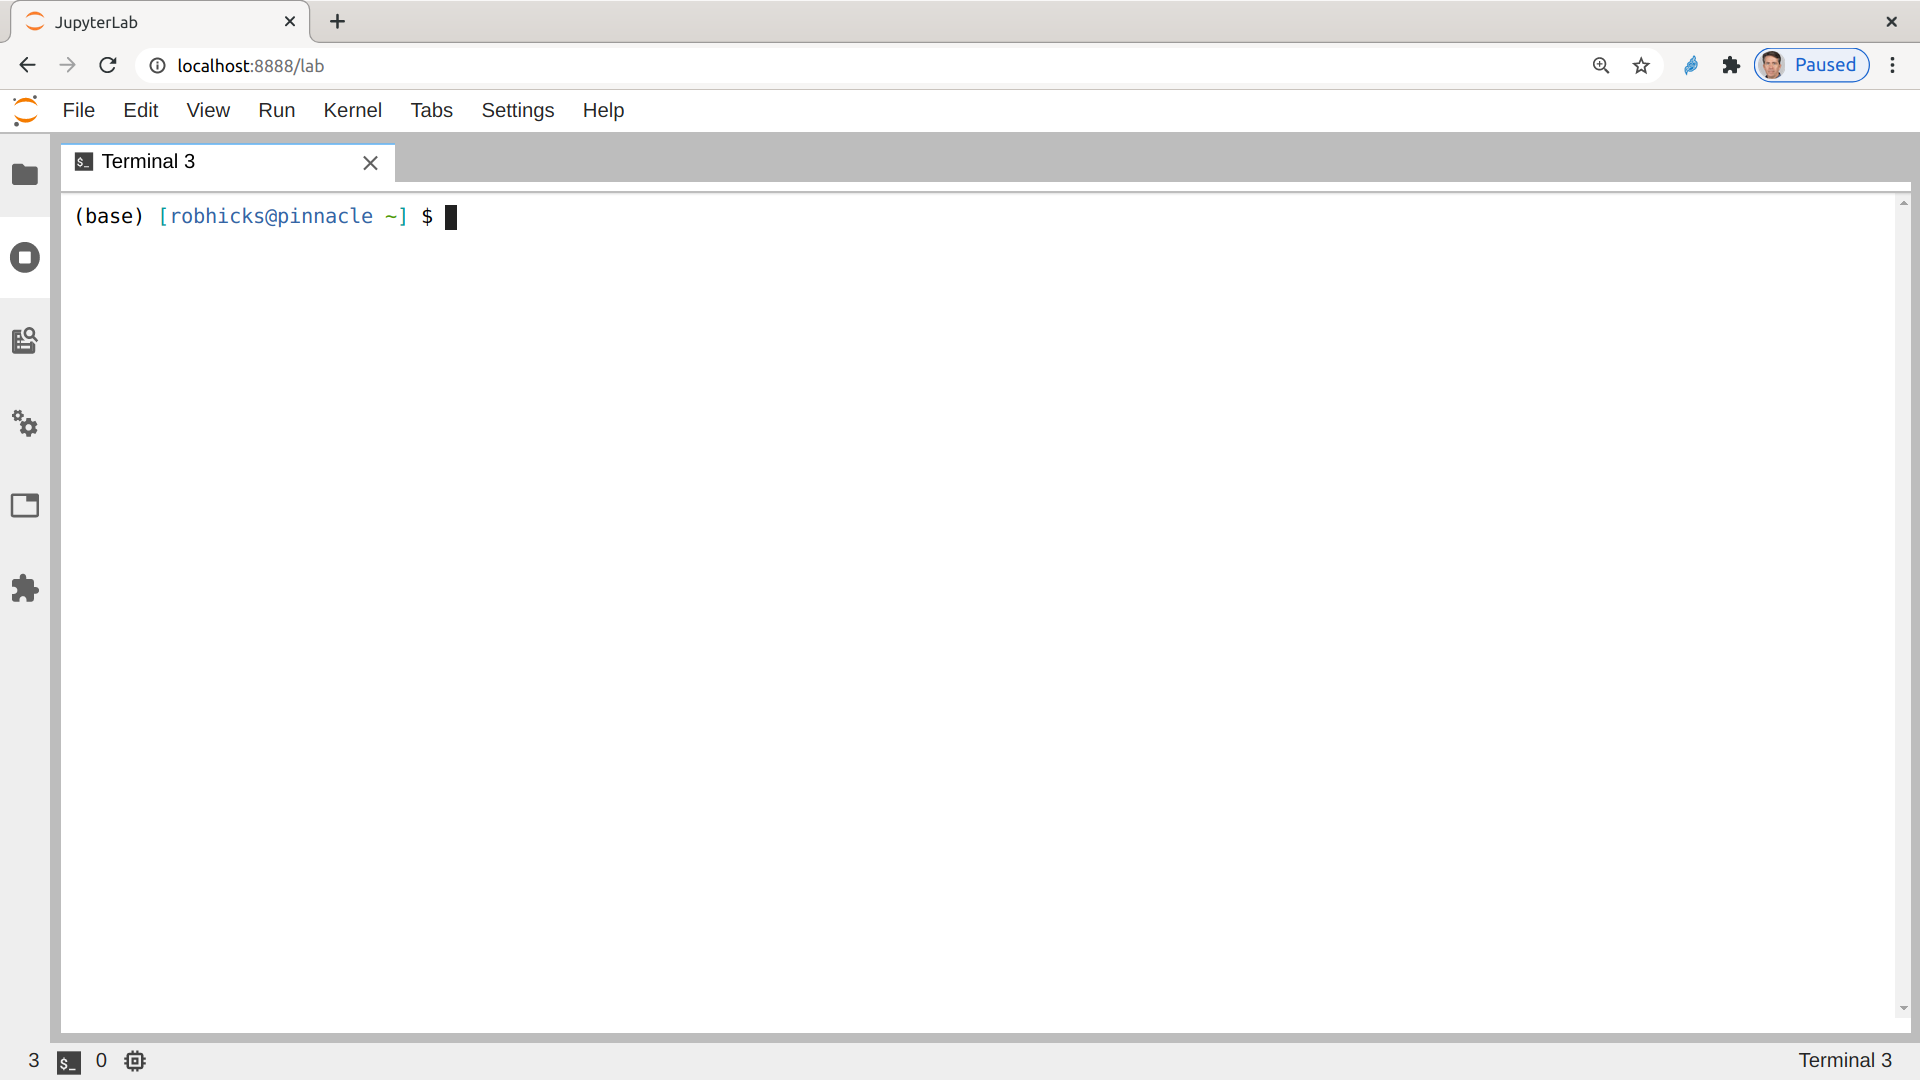
Run the following commands to complete the installation:
pip install stata_kernelpython -m stata_kernel.install-
conda install nodejs -y, or if this fails, runconda install -c conda-forge nodejs -y jupyter labextension install jupyterlab-stata-highlight
Now you should see "Stata" listed as I do below:

Running Stata Commands in Jupyter Notebook
Clicking on "Stata" in the "Notebook" section will give you this:
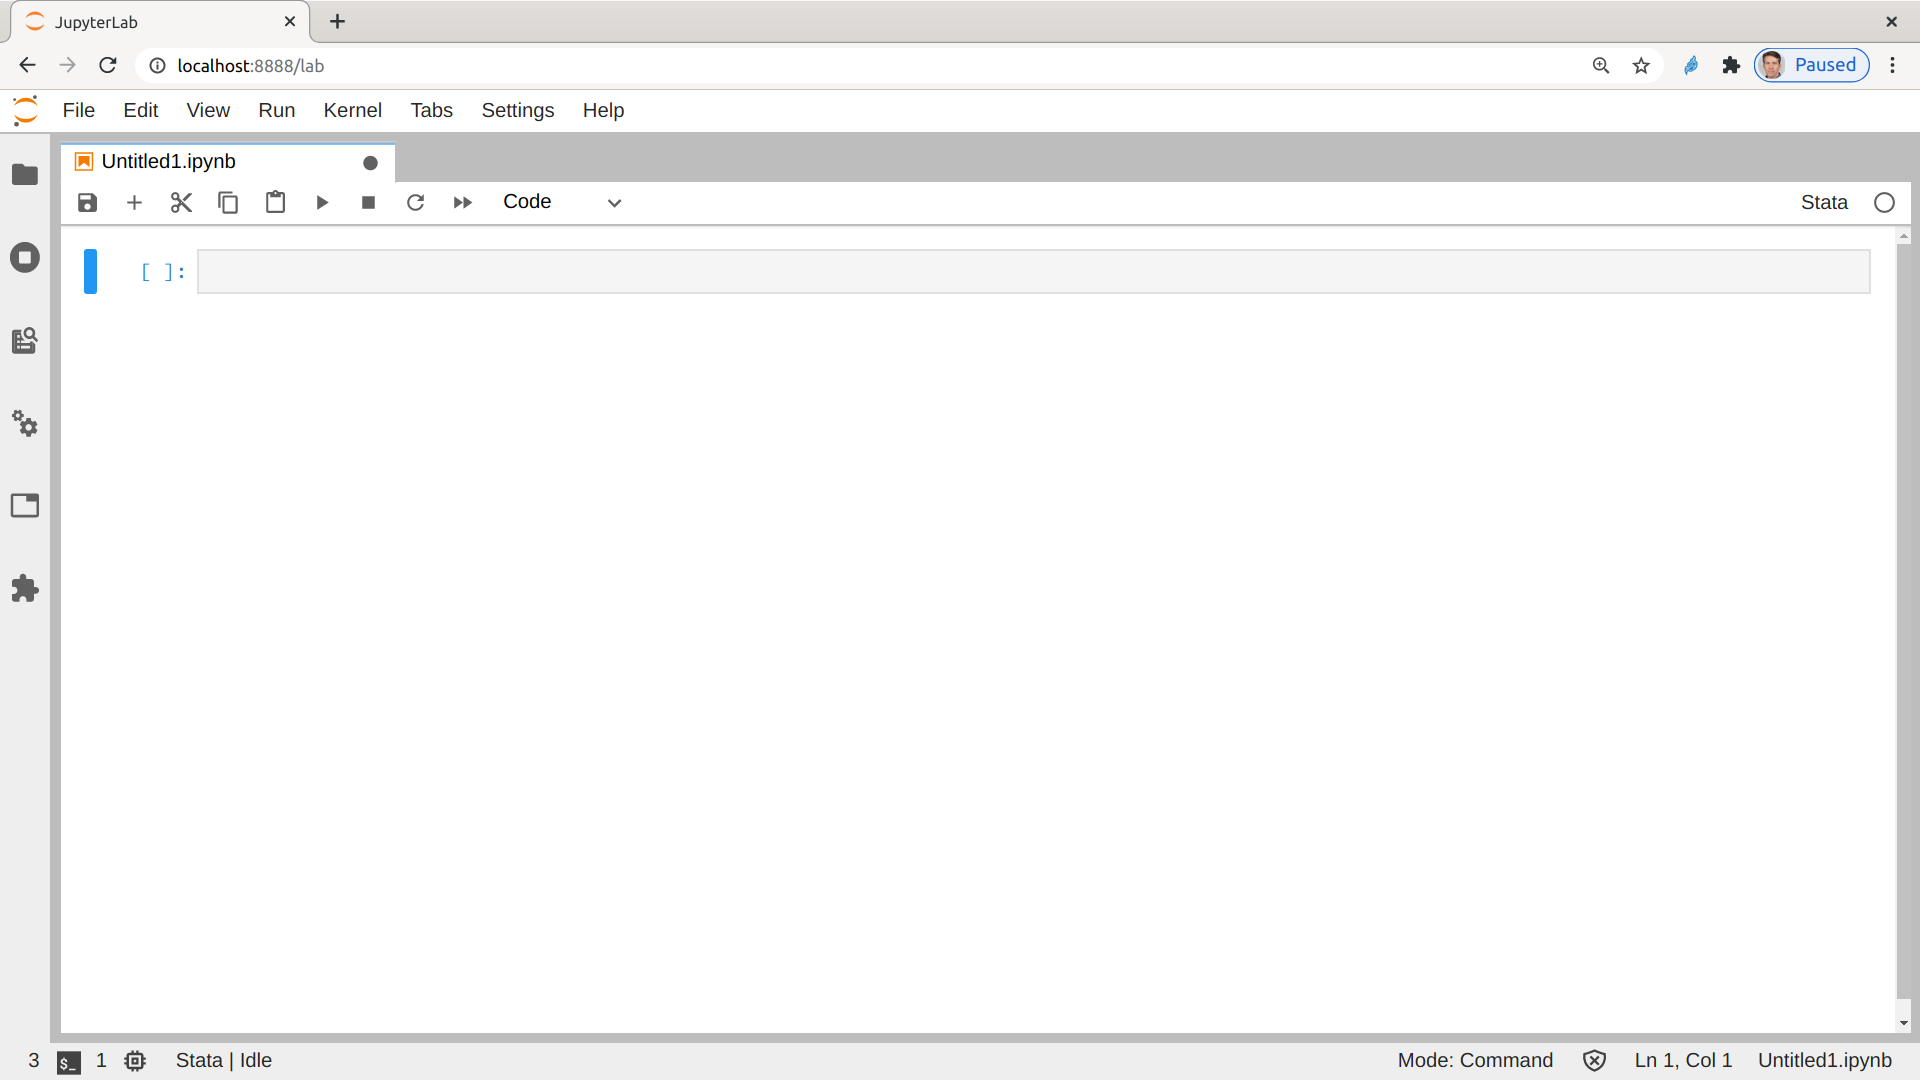
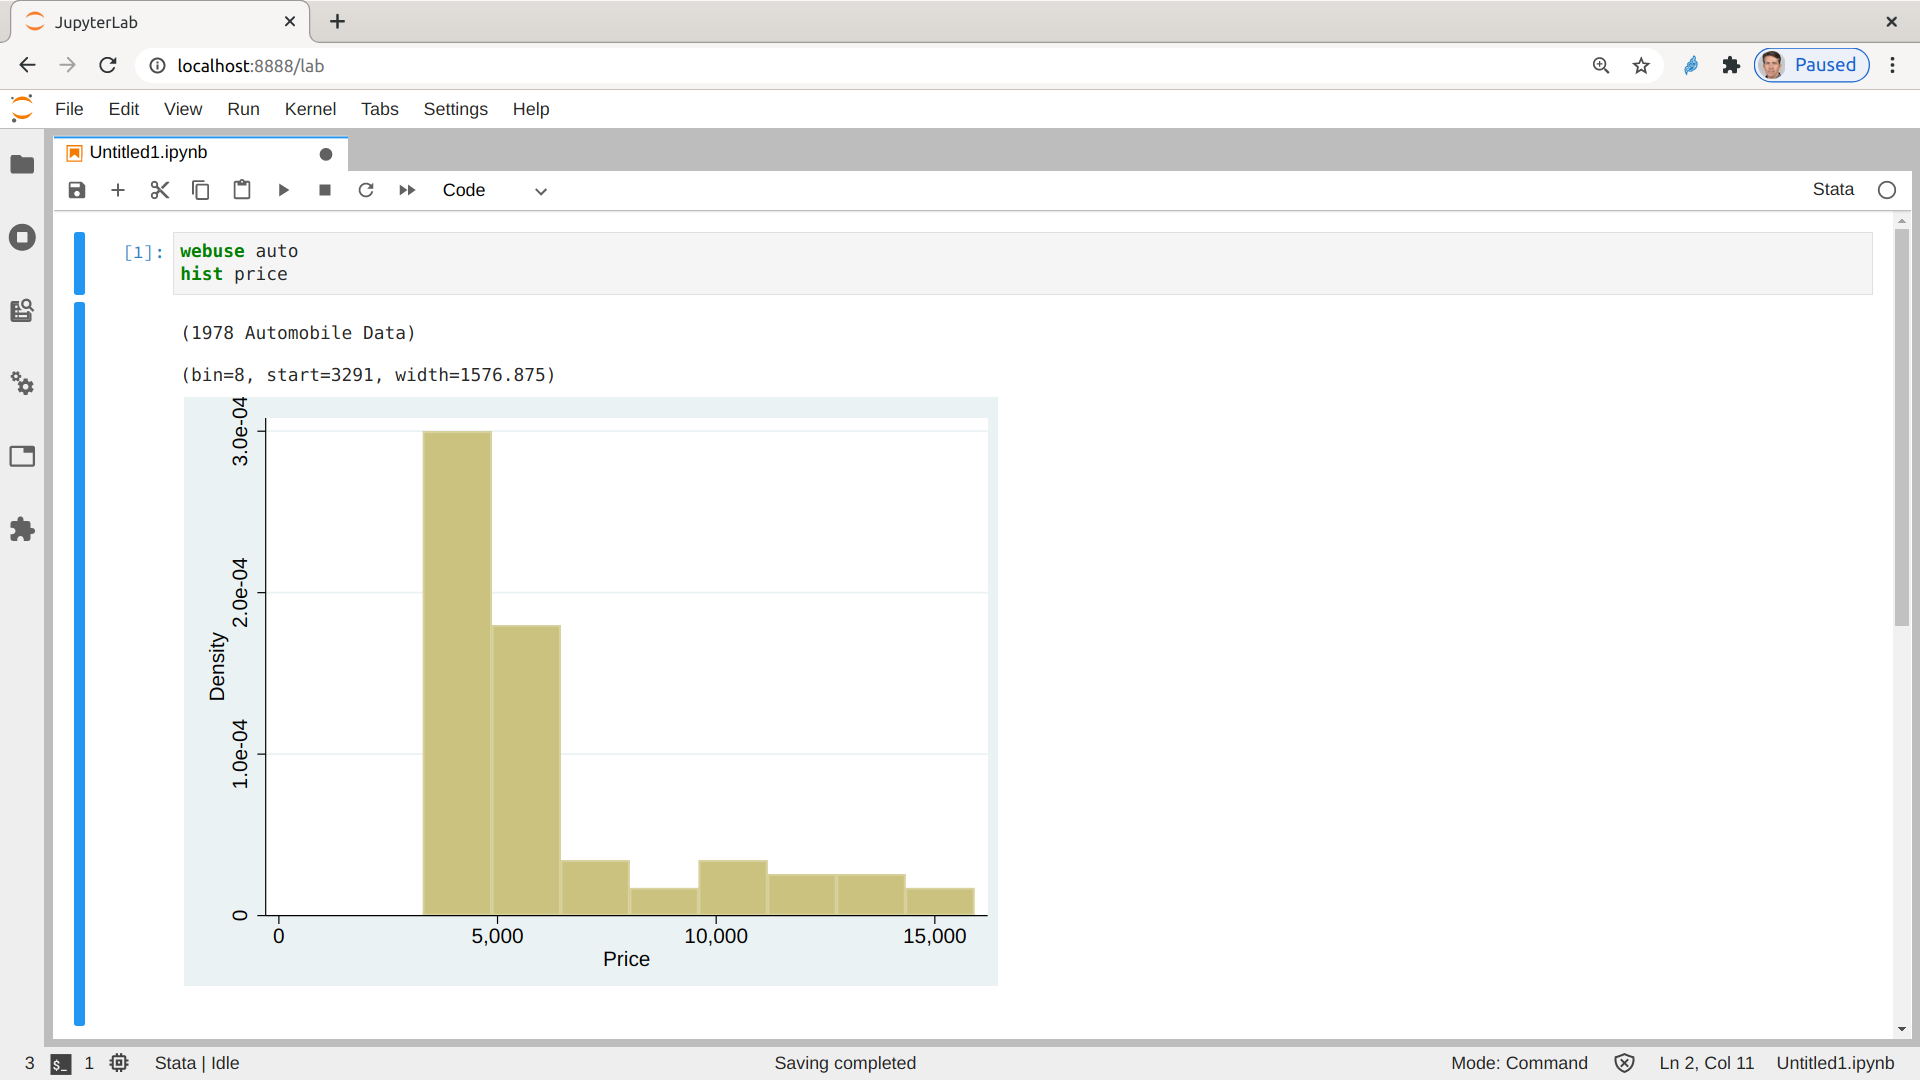
You can then enter stata code directly in the notebook and use "Ctrl-Enter" to execute a cell. Here is code and output:
You can add "Markdown" math and other notation by toggling between code and markdown in new cells. See a quick demo from the stata kernel project below:
